

The Most Adorable Heart Shaped Cake You’ll Ever Bake
I’ve always believed that baking is one of the purest forms of love. You’re literally taking raw, simple ingredients and transforming them into something beautiful to share with the people you care about most. Whether you’re gearing up for Valentine’s Day, celebrating a sweet anniversary, or just want to surprise your best friend on a random Tuesday, making a heart shaped cake is the ultimate way to say “I love you.”
I remember the very first time I tried baking one of these. I was so nervous about getting the shape right, but honestly? It ended up being incredibly fun and way less complicated than I built it up to be in my head. Today, I’m sharing my absolute favorite, tried-and-true recipe for a gorgeous, moist, and utterly delicious heart shaped cake. We’ll go over everything from getting that perfectly tender crumb to frosting it so it looks like it came straight out of a boutique bakery. Grab your favorite mixing bowl, pour yourself a cup of coffee, and let’s get baking!
What Is a Heart Shaped Cake?
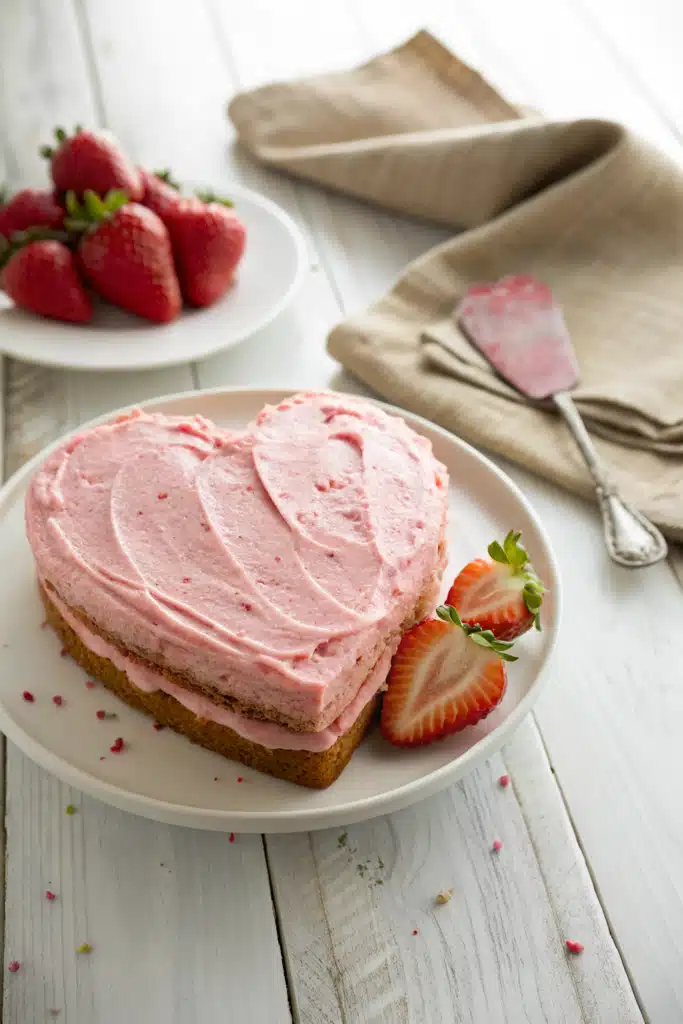
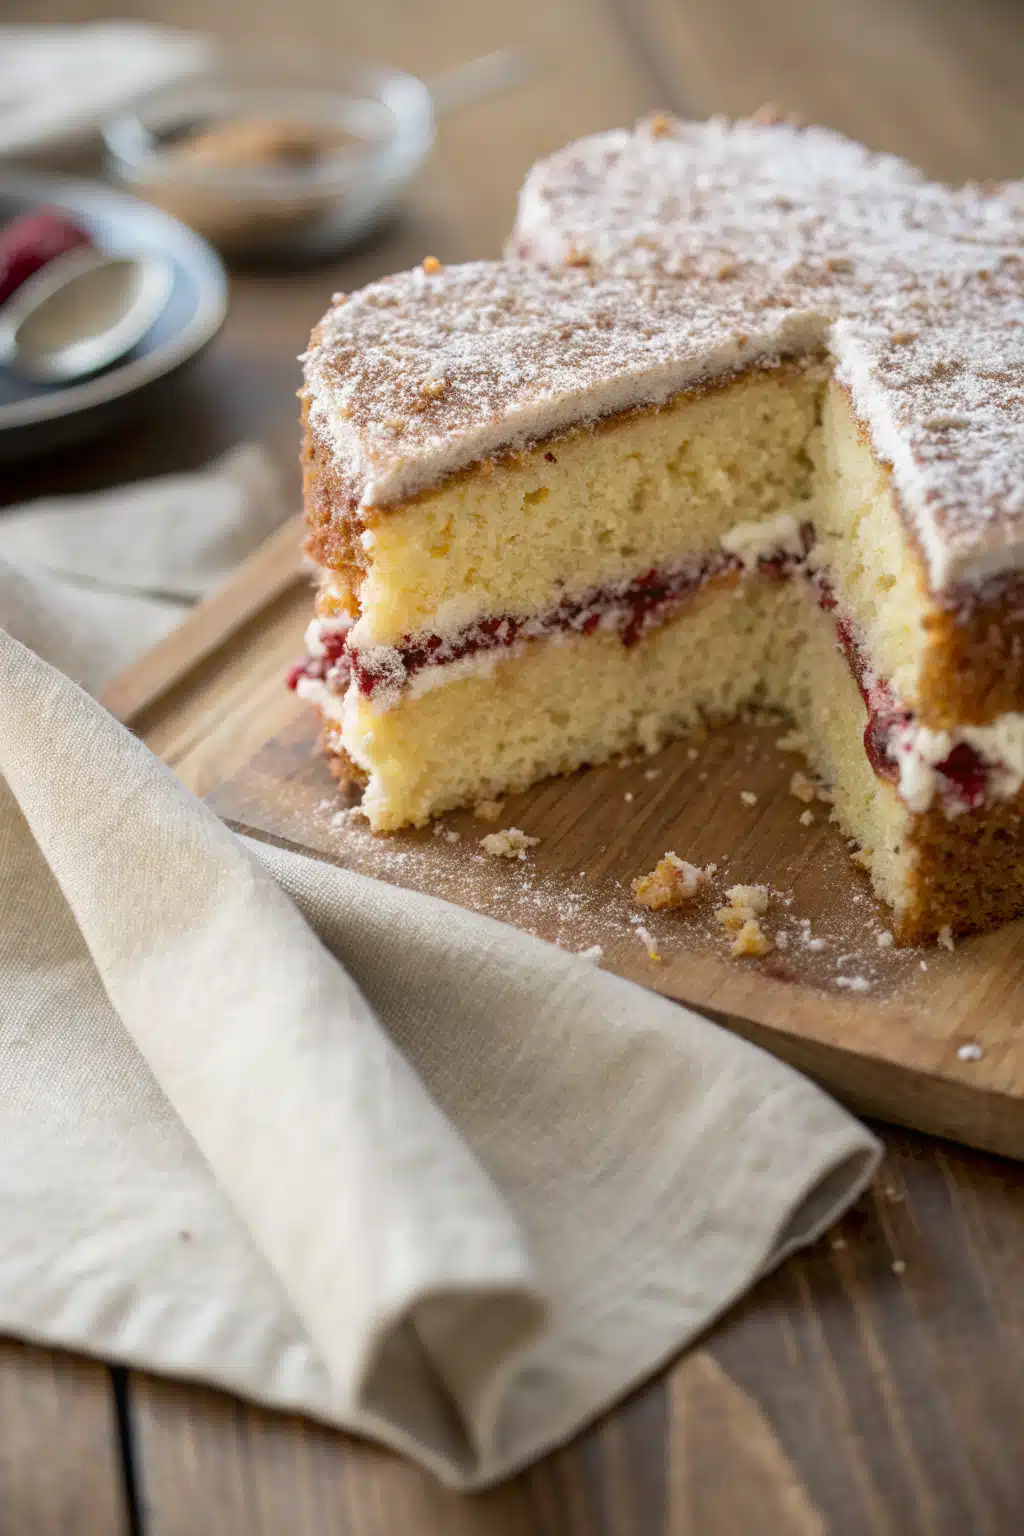
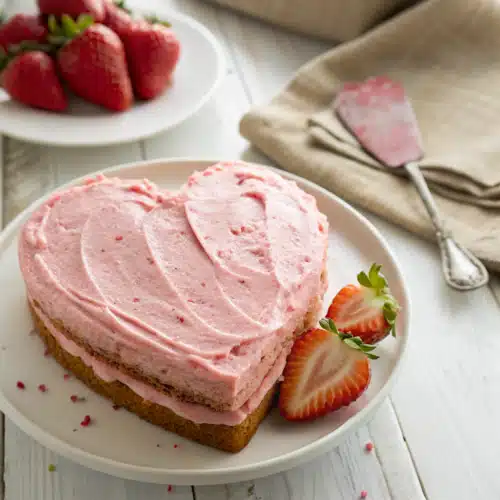
At its core, a heart shaped cake is exactly what it sounds like—a delicious, lovingly crafted cake baked or carved into the universal symbol of love. But let’s be real, it’s so much more than just a shape. This particular recipe gives you a supremely soft, buttery vanilla cake layered with a rich, silky buttercream frosting. You can make it using a specialty heart-shaped baking pan, or you can use the classic baker’s trick involving one square cake and one round cake (don’t worry, we’ll talk about both!).
While standard round and sheet cakes are fantastic for everyday birthdays and casual get-togethers, a heart shaped cake elevates the entire experience. It feels intentional, special, and deeply personal. It’s the kind of dessert that makes people gasp when you bring it to the table. The crumb is tight enough to hold the unique shape without crumbling into a million pieces, yet soft enough to melt in your mouth with every single bite.
How to Make This Heart Shaped Cake
Quick Overview
Don’t let the fancy shape fool you—this recipe is wonderfully straightforward. You’ll spend about 20 minutes pulling the batter together, 30 to 35 minutes letting your oven do the heavy lifting, and then the real fun begins: the decorating! We’ll start by whisking our dry ingredients, beating the butter and sugar until it’s light and fluffy like a cloud, and then gently folding everything together with a splash of buttermilk for that irresistible tang. Once baked and cooled, we’ll whip up a dreamy vanilla buttercream to bring the whole thing to life. You’ve totally got this!
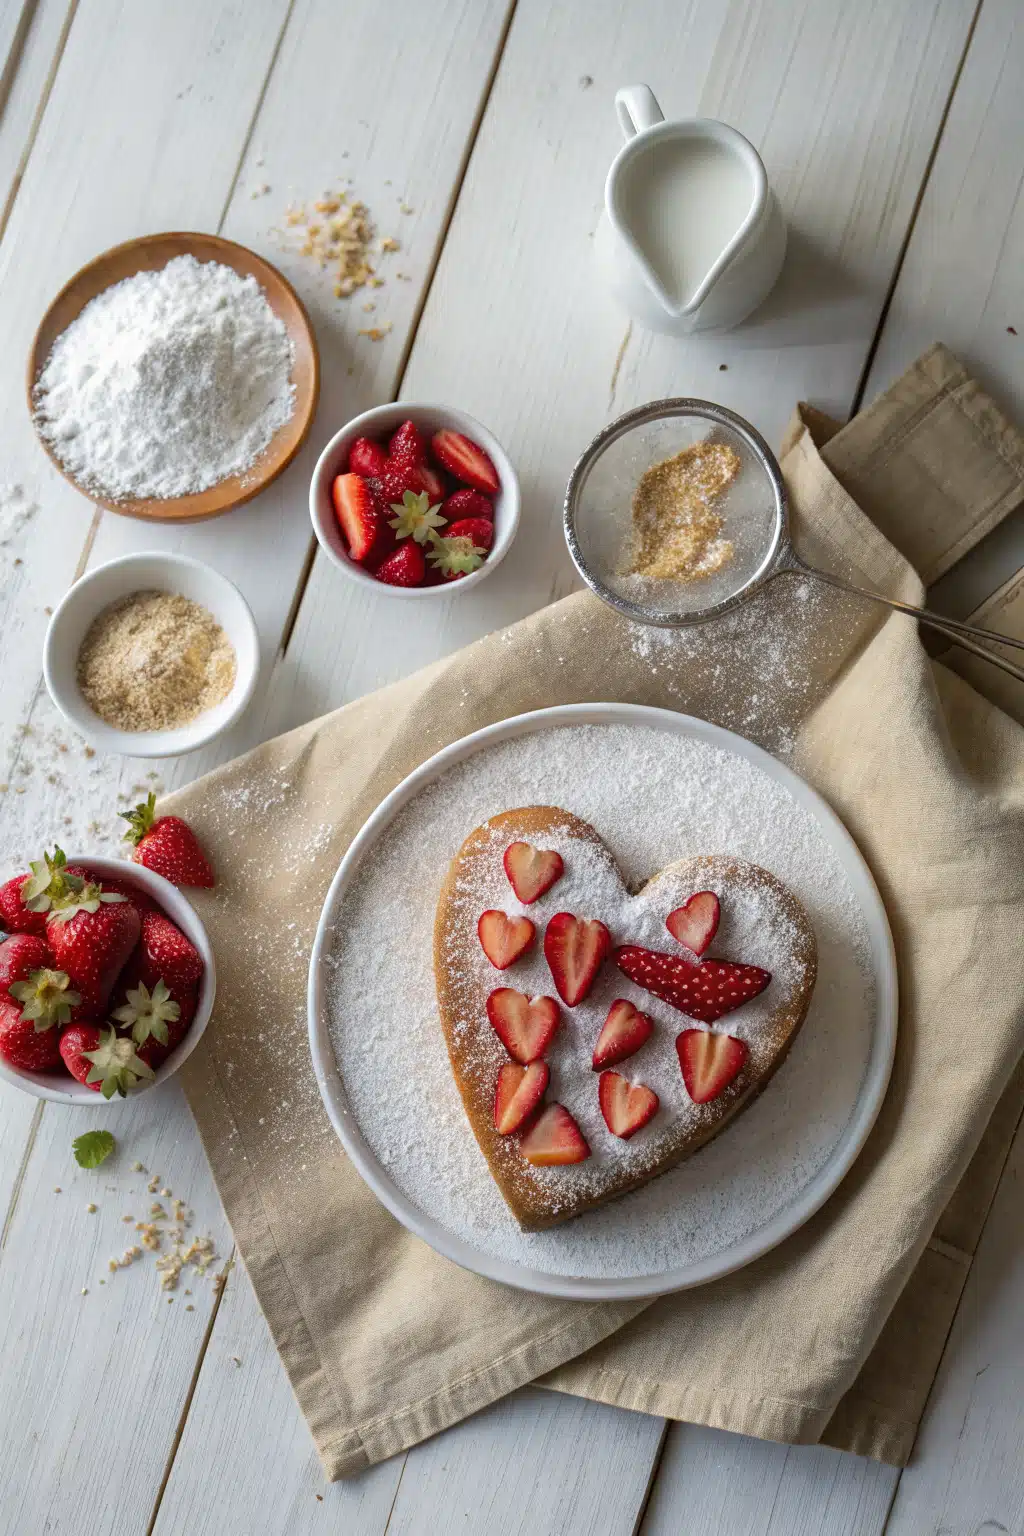
Ingredients
Here is what you will need to grab from your pantry and fridge for the cake batter:
- All-purpose flour: The sturdy base of our cake. Make sure to spoon and level it!
- Granulated sugar: For the perfect amount of sweetness.
- Unsalted butter: Make sure it is softened to room temperature so it creams properly.
- Vegetable oil: Just a splash to keep the crumb ultra-moist.
- Large eggs: Room temperature, please!
- Vanilla extract: Use the good stuff, it makes a huge difference in a vanilla cake.
- Buttermilk: Adds tenderness and a slight tang.
- Baking powder and salt: For lift and flavor balance.
Step-by-Step Instructions
Step 1: Preheat & Prep Pan
First things first, preheat your oven to 350°F (175°C). Generously grease your heart-shaped pan (or your 8-inch round and 8-inch square pans if you’re using the carving hack) with butter, and line the bottom with parchment paper. This guarantees your cake will slide right out without any heartbreak.
Step 2: Whisk the Dry Ingredients
In a medium bowl, whisk together your flour, baking powder, and salt. I always like to sift my flour if it’s looking a bit clumpy, just to make sure the batter ends up as smooth as possible.
Step 3: Cream Butter and Sugar
In the bowl of a stand mixer (or using a hand mixer), beat the softened butter, vegetable oil, and granulated sugar on medium-high speed. You want to do this for a solid 3 to 4 minutes until it turns pale and fluffy. Don’t rush this step; it builds the cake’s structure!
Step 4: Add Eggs and Vanilla
Add your room temperature eggs one at a time, mixing well after each addition. Scrape down the sides of the bowl with a rubber spatula, then splash in your vanilla extract.
Step 5: Combine and Bake
Turn your mixer to low. Add a third of your dry ingredients, followed by half of the buttermilk. Repeat, ending with the dry ingredients. Mix just until combined—do not overmix! Pour the batter into your prepared pan(s) and bake for 30-35 minutes, or until a toothpick inserted in the center comes out clean.
Step 6: Cool and Frost
Let the cake cool in the pan for 10 minutes before turning it out onto a wire rack to cool completely. Once totally cool, frost generously with your favorite buttercream and decorate with sprinkles, piped rosettes, or fresh fruit.
What to Serve It With
This heart shaped cake is an absolute star on its own, but pairing it with the right sides can take it to the next level. I highly recommend serving generous slices alongside a scoop of high-quality vanilla bean or strawberry ice cream. If you want to keep things a bit lighter, a dollop of freshly whipped cream and a handful of macerated berries (like raspberries and sliced strawberries) cut through the sweetness of the buttercream beautifully. And hey, if you are serving this for an anniversary or Valentine’s Day, a chilled glass of prosecco, champagne, or sparkling apple cider is pretty much mandatory!
Top Tips for Perfecting Your Heart Shaped Cake
Over the years, I’ve learned a few tricks to make sure this cake turns out flawlessly every single time:
- Room temperature ingredients are non-negotiable: Cold eggs and milk will seize up your butter, leaving you with a lumpy batter. Leave them out on the counter for an hour before you start.
- Do a crumb coat: Because of the unique shape and angles, frosting can be tricky. Apply a very thin layer of frosting all over the cake to lock in the crumbs, chill it in the fridge for 20 minutes, and then apply your final beautiful layer.
- Don’t overbake: Start checking your cake at the 28-minute mark. Every oven is different, and nobody likes a dry cake!
Storing and Reheating Tips
If you somehow have leftovers of this amazing heart shaped cake, storing it is a breeze. Keep the frosted cake in an airtight container at room temperature for up to 3 days. The buttercream actually acts as a seal, keeping the cake inside nice and moist. If your kitchen is particularly warm, you can store it in the fridge for up to 5 days, but please let it sit out at room temperature for about an hour before eating so the butter in the cake and frosting can soften up again.
Want to freeze it? You can freeze the unfrosted cake layers wrapped tightly in plastic wrap and foil for up to 2 months. Thaw overnight in the fridge before decorating!
Frequently Asked Questions
Final Thoughts
Baking is all about creating joy, and I can honestly say that few things bring as much joy as presenting someone with a beautiful, homemade heart shaped cake. Whether it turns out looking like a bakery window masterpiece or has a few rustic, homemade quirks, the person you made it for is going to feel so incredibly loved. I really hope you enjoy making this recipe as much as my family and I do. Don’t forget to take a picture of your gorgeous creation before you slice into it! Happy baking, my friends!
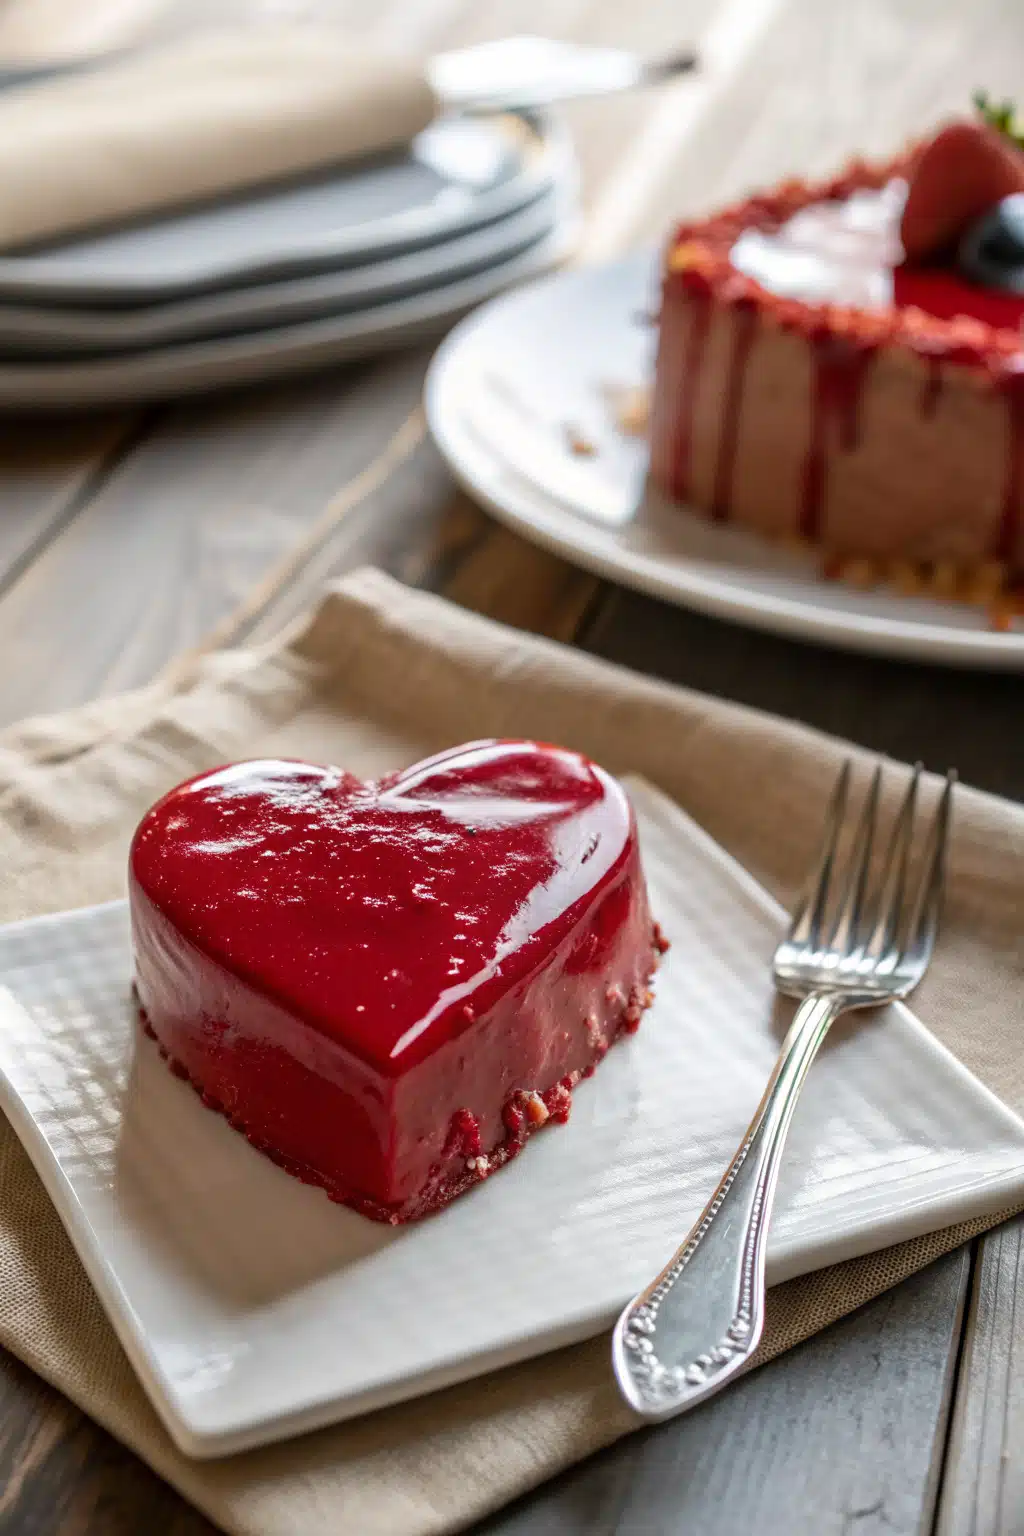
Heart shaped cake
Ingredients
Cake Batter
- 2.5 cups all-purpose flour
- 1.5 cups granulated sugar
- 3 tbsp unsweetened cocoa powder
- 1.5 tsp baking soda
- 1 tsp salt
- 2 large eggs
- 1.5 cups vegetable oil
- 1 cup buttermilk
- 0.25 cup red food coloring
- 2 tsp vanilla extract
- 2 tsp white vinegar
Cream Cheese Frosting
- 2.5 cups powdered sugar
- 16 oz cream cheese softened
- 0.5 cup unsalted butter softened
- 1 tbsp vanilla extract for frosting
Instructions
Preparation Steps
- Preheat the oven to 350°F. Grease and line one 8-inch square cake pan and one 8-inch round cake pan.
- In a large bowl, whisk together the flour, sugar, cocoa powder, baking soda, and salt.
- Add the eggs, oil, buttermilk, food coloring, vanilla extract, and vinegar to the dry ingredients. Mix until well combined.
- Divide the batter evenly between the prepared square and round pans.
- Bake for 30 to 35 minutes, or until a toothpick inserted into the center comes out clean. Let the cakes cool completely.
- To make the frosting, beat the cream cheese and butter together until smooth. Gradually add the powdered sugar and vanilla extract, beating until creamy.
- To assemble the heart shape, place the square cake on a large platter in a diamond shape (one corner pointing down).
- Cut the round cake in half. Place the two flat edges of the round halves against the top two angled sides of the square cake to form a heart.
- Frost the entire cake evenly with the cream cheese frosting, covering the seams.
Notes
Featured Comments
“Impressed! Clear steps and so flavorful results. Perfect for busy nights.”
“New favorite here — spot on. crowd-pleaser was spot on.”
“Super easy and turned out amazing! My family asked for seconds. Saving this one.”
“This sweet treat was absolutely loved — the balanced really stands out. Thanks!”
“Made it tonight and wow — absolutely loved! Will definitely make Heart Cake: Romantic Dessert Idea for Any Occasion again.”
“Packed with flavor and so simple. Exactly what I wanted from Heart Cake: Romantic Dessert Idea for Any Occasion.”


