

The Ultimate No-Bake Frozen Cake (Easy & Refreshing!)
Let’s be real for a second. There are days when you desperately crave a show-stopping homemade dessert, but the mere thought of turning on your oven makes you want to cry. Whether it is the middle of a sweltering summer heatwave or you are just exhausted after a long week of work and wrangling kids, baking a traditional cake from scratch isn’t always in the cards.
That is exactly how this no-bake frozen cake became my absolute go-to recipe. I stumbled upon the idea a few years ago when I needed a last-minute dessert for a neighborhood barbecue. I had zero energy, a few basic ingredients in my fridge, and a desperate need to bring something that looked like I tried hard. Honestly? I threw this together in about fifteen minutes, popped it in the freezer, and crossed my fingers.
The result was pure magic. People were begging for the recipe, completely shocked when I told them it didn’t require an oven, a stand mixer, or any complicated pastry skills. It is incredibly creamy, perfectly sweet, and has this gorgeous texture that falls somewhere between a classic icebox cake and a premium ice cream cake.
What Is A No-Bake Frozen Cake?
If you have never had the pleasure of trying a no-bake frozen cake, you are in for a serious treat. Think of it as the lazy baker’s secret weapon. At its core, it is a layered dessert built in a loaf pan or a springform pan, relying entirely on your freezer to “set” the ingredients rather than baking them.
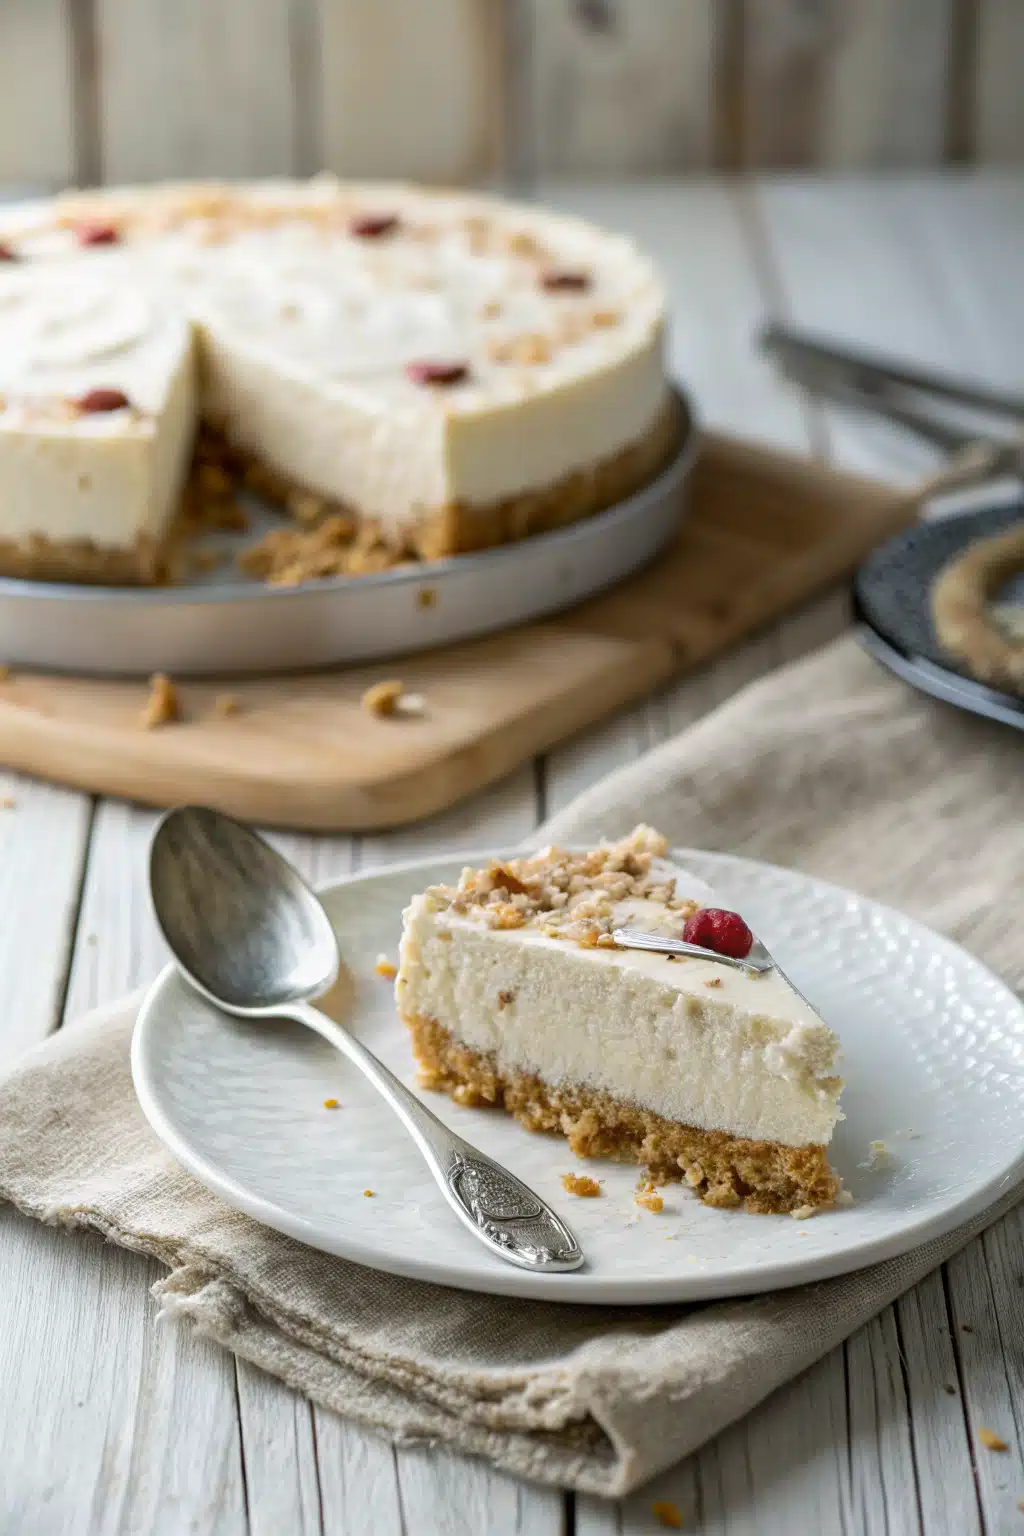
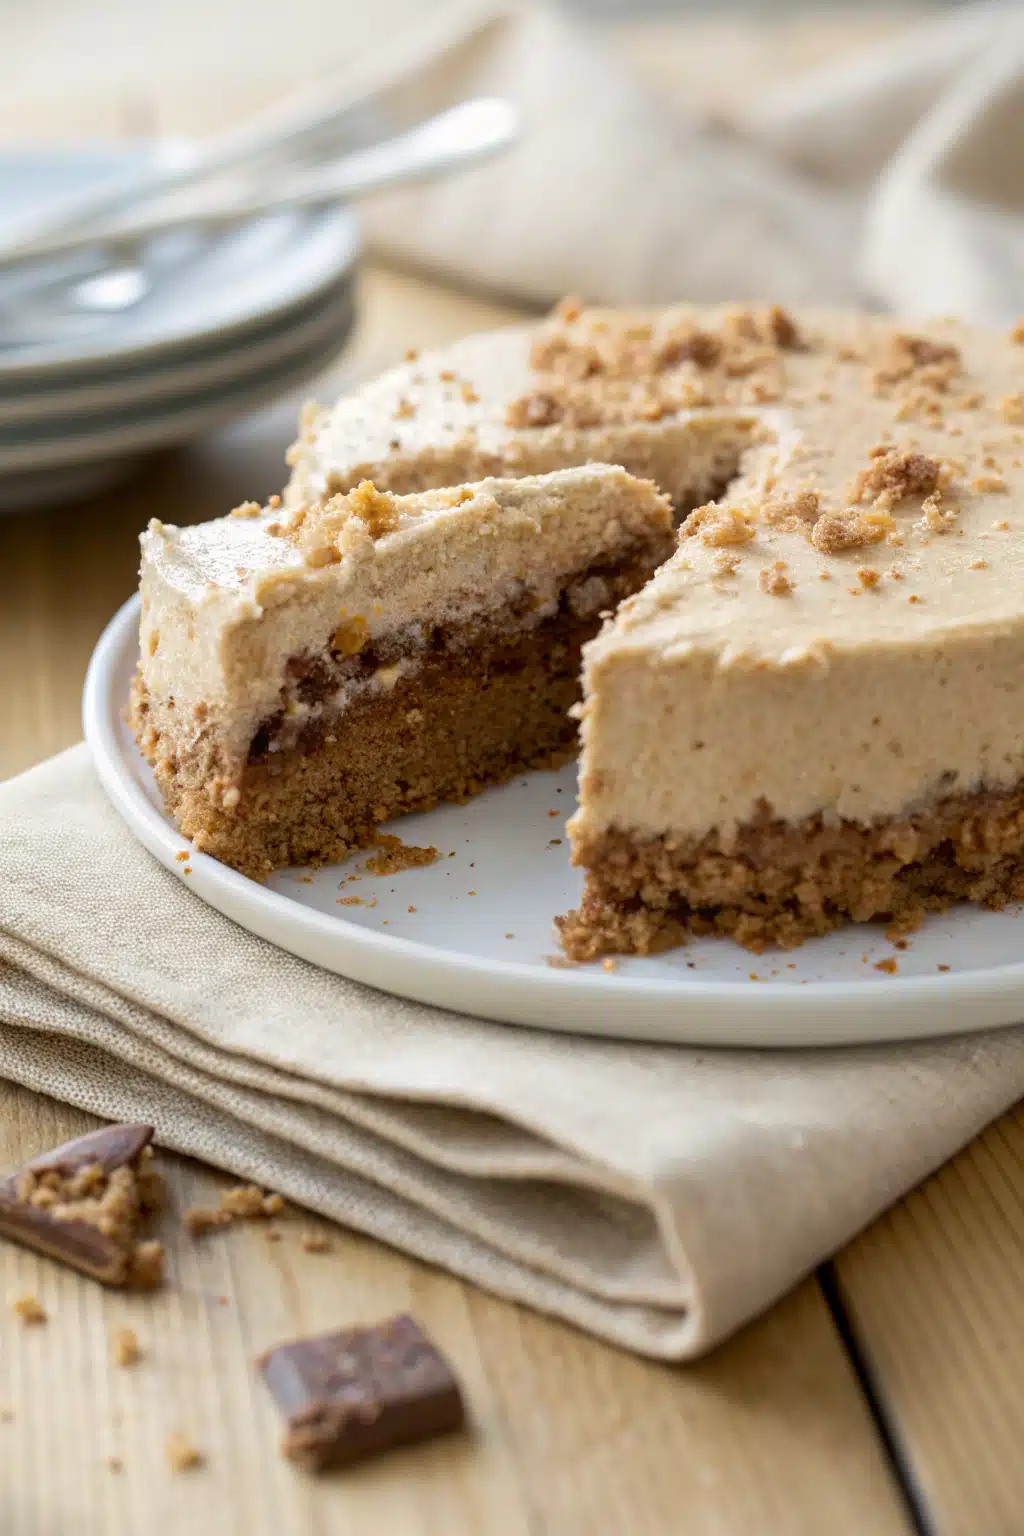
Instead of a traditional flour-and-egg sponge, we use crispy graham crackers or your favorite cookies to create the cake-like layers. As the dessert sits in the freezer, the moisture from the creamy filling slowly softens the crackers just enough so that they take on a tender, cakey texture.
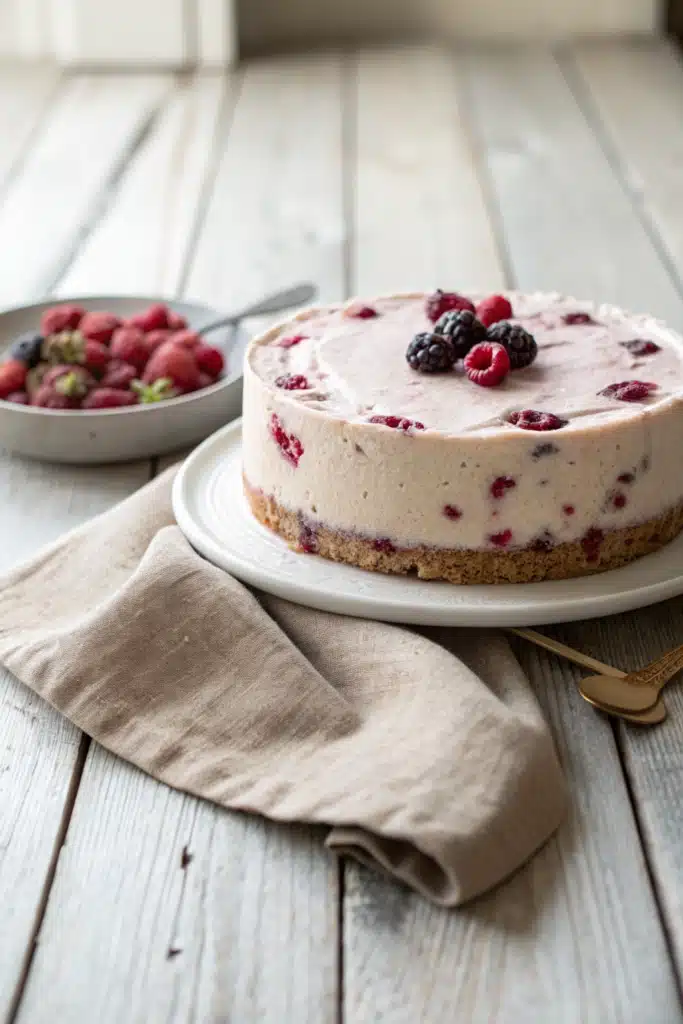
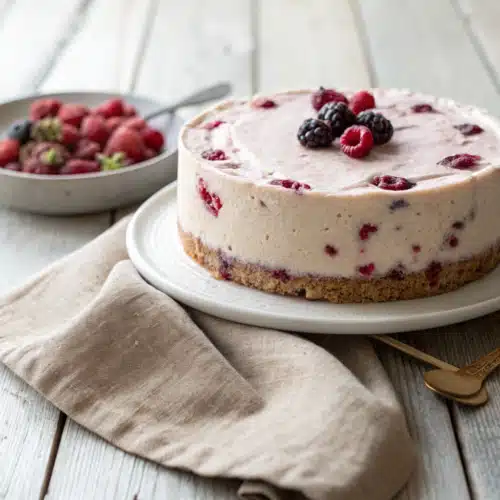
The filling itself is a rich, velvety mixture of whipped cream, softened cream cheese, and sweetened condensed milk. It is basically a no-churn ice cream that holds its shape beautifully when sliced. Add in a swirl of fruit or chocolate, and you have a masterpiece that looks like it came from a fancy bakery, all while skipping the flour dust and the sink full of dirty mixing bowls.
How to Make a No-Bake Frozen Cake
Quick Overview
Do not let the stunning final result fool you. The active hands-on time for this recipe is barely 15 to 20 minutes. You will start by prepping your pan with parchment paper to ensure an easy release later. Then, you will whip up your creamy base, mash some berries for your swirl, and simply alternate layers of graham crackers and cream in your pan. After that, your freezer does all the heavy lifting. The hardest part is honestly just waiting for it to freeze solid before you can dig in!
Ingredients
You only need a handful of simple, easy-to-find ingredients to make this magic happen. Here is what you should grab from the grocery store:
- Cream Cheese: Two 8-ounce blocks. Make sure they are full-fat and softened to room temperature for a lump-free filling.
- Sweetened Condensed Milk: One 14-ounce can. This provides our sweetness and keeps the frozen texture smooth instead of icy.
- Heavy Whipping Cream: Two cups, very cold. This gives the cake its light, airy volume.
- Vanilla Extract: Two teaspoons to enhance all the flavors.
- Graham Crackers: About one standard box. You can also use vanilla wafers or chocolate cookies.
- Frozen Berries: One cup of raspberries or strawberries, thawed and lightly mashed for the swirl.
Step-by-Step Instructions
Step 1: Prep Your Pan
Grab a standard 9×5 inch loaf pan and line it entirely with parchment paper. Make sure you leave a few inches of paper hanging over the sides. These overhangs will act like handles, making it incredibly easy to lift the frozen cake right out of the pan later. If you don’t have parchment, plastic wrap works in a pinch, but parchment is definitely less messy.
Step 2: Whip the Cream
In a large, clean bowl, pour in your cold heavy whipping cream. Using a hand mixer (or a whisk if you want a serious arm workout), beat the cream until stiff peaks form. You want it to hold its shape well, but be careful not to over-mix, or you will accidentally make butter! Set this bowl aside for a moment.
Step 3: Blend the Cream Cheese Base
In a separate bowl, beat your softened cream cheese until it is completely smooth and creamy. Pour in the sweetened condensed milk and the vanilla extract. Beat everything together until it is beautifully combined. Take a spatula and gently fold your whipped cream into this cream cheese mixture. Do this slowly so you don’t deflate the air you just whipped into the cream.
Step 4: Create the Berry Swirl
Take your thawed berries and mash them up with a fork. You want it to be a little chunky, not completely pureed. Gently drop spoonfuls of the mashed berries into your cream mixture and use a butter knife to swirl it around. Do not mix it completely; you want those distinct, pretty ribbons of fruit running through the white cream.
Step 5: Layer and Freeze
Place a single layer of graham crackers at the bottom of your prepared loaf pan. Break them to fit if you need to. Spoon about a third of your swirled cream mixture over the crackers and smooth it out. Repeat this process—crackers, cream, crackers, cream—until you reach the top of the pan, finishing with a layer of cream. Cover the pan tightly with plastic wrap and place it in the freezer for at least 6 hours, though overnight is highly recommended.
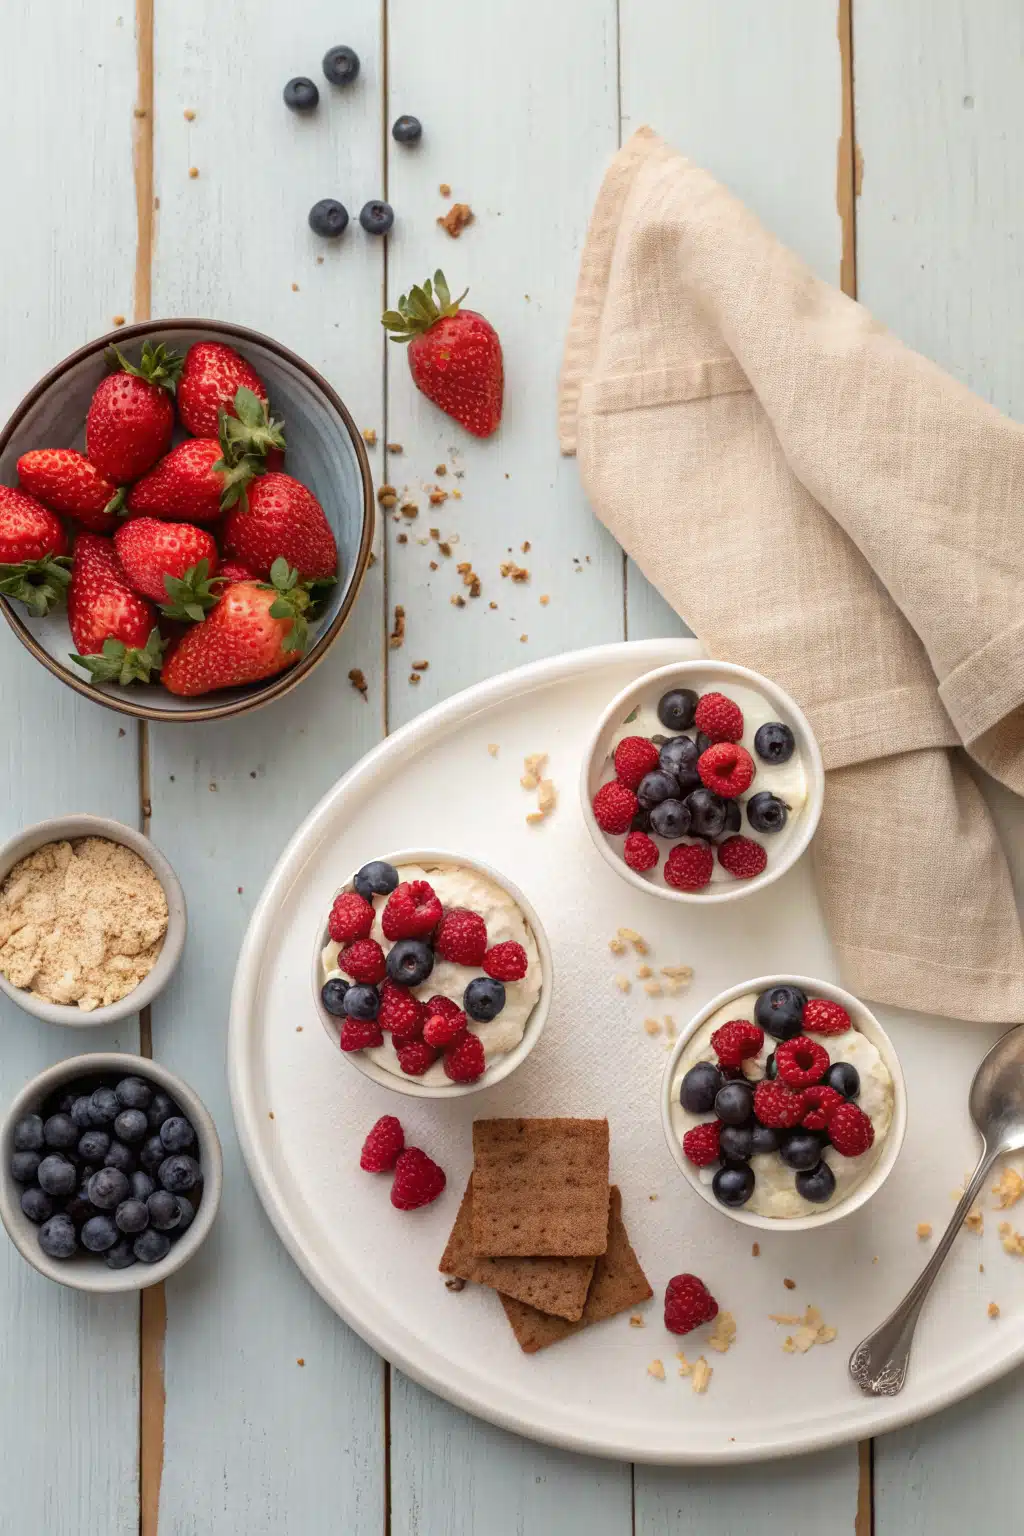
What to Serve It With
This dessert is a total star on its own, but dressing it up makes it feel extra special. I love to serve a slice with a handful of fresh, seasonal berries scattered on the plate. The tartness of fresh fruit cuts through the rich, creamy sweetness of the cake perfectly.
If you are feeding a crowd with a serious sweet tooth, a drizzle of warm hot fudge or a high-quality salted caramel sauce right over the top of the cold slice is downright heavenly. The contrast between the warm sauce and the frozen cake is incredible. I also highly recommend serving this with a hot cup of black coffee or a shot of espresso. It is the ultimate afternoon pick-me-up.
Top Tips for Perfecting Your No-Bake Frozen Cake
Even though this is an incredibly forgiving recipe, I have learned a few tricks over the years to make sure it turns out flawless every single time.
Soften your cream cheese completely: I cannot stress this enough. If your cream cheese is even slightly cold, you will end up with tiny, stubborn white lumps in your filling. Leave it on the counter for a couple of hours before you start. If you forget, you can microwave it on a very low power setting in 10-second bursts, just until it yields to the touch.
Do not rush the freeze: It is so tempting to pull this out after three or four hours, but the cake really needs a full 6 to 8 hours to firm up enough for clean slices. If you cut into it too early, it will be more of a pudding consistency. It will still taste amazing, but it won’t look like a cake.
The secret to perfect slicing: When you are ready to serve, lift the cake out of the pan using your parchment paper handles and set it on a cutting board. Let it sit at room temperature for about 10 to 15 minutes. This takes the hard chill off and allows your knife to glide through without cracking the graham cracker layers. Run a large, sharp chef’s knife under hot water, wipe it dry, and slice. You will get bakery-worthy cuts every time.
Storing and Reheating Tips
One of the best things about this dessert is how well it keeps. Since it is literally meant to be frozen, you don’t have to worry about it going stale like a traditional baked cake.
To store leftovers, keep the cake tightly wrapped in its original parchment paper, then wrap the whole thing in a layer of plastic wrap, followed by a layer of aluminum foil. This double-layer method prevents freezer burn and stops the cake from absorbing any weird odors from your freezer (nobody wants an onion-flavored dessert!). It will keep perfectly in the freezer for up to a month.
There is absolutely no reheating required for this recipe. When you want a piece, just unwrap it, slice off what you need, and pop the rest right back into the freezer. Let your slice sit on a plate for about 5 minutes to soften slightly before diving in with a fork.
Frequently Asked Questions
Final Thoughts
I really hope you give this no-bake frozen cake a try the next time you need a stunning dessert without the stress of turning on your oven. It has saved me on more occasions than I can count, and it always brings a huge smile to my family’s faces. It is just one of those back-pocket recipes that makes life a little bit sweeter and a whole lot easier.
If you end up making this, please let me know how it turns out! Did you stick with the berry swirl, or did you invent your own crazy flavor combination? I love hearing about the creative spins you all put on these recipes. Grab a slice, put your feet up, and enjoy every single creamy bite. You deserve it!
Frozen Cake
Ingredients
Main Ingredients
- 1 cup whole milk
- 2 tsp pure vanilla extract
- 1 cup unsalted sweet cream butter softened
- 2 cups sugar
- 3 cups flour
- 1 tbsp baking powder
- 5 large egg whites
- Sky blue gel food coloring
- 3 cups white vanilla frosting
- 1 cup blue icing
- White chocolate snowflakes
Instructions
Preparation Steps
- Preheat oven to 350 degrees and spray three 9-inch round cake pans with baking spray and set aside.
- In a medium mixing bowl, whisk together the milk and vanilla and set aside.
- Using a standing mixer, beat together the butter and sugar until light and fluffy.
- In a large mixing bowl, whisk together the flour and baking powder.
- Alternating between the milk and dry ingredients, gradually pour into the butter mixture, mixing on low to medium speed until combined.
- Using another large mixing bowl and a hand mixer, beat the eggs until stiff peaks form, then fold into the cake batter.
- Divide the batter evenly between three mixing bowls. Leave one bowl white. In the second bowl, mix in 2 drops of sky blue gel food coloring. In the third bowl, mix in 5-6 drops of sky blue gel food coloring.
- Pour each batter into their own pan. Bake the cakes in the oven for 23-26 minutes or until a toothpick comes out clean in the center.
- Allow the cakes to cool completely before removing them from the cake pans. Once cooled, remove the domes from the cakes using a cake slicer.
- Place the darker blue cake layer onto a cake board. Scoop about 1 cup of frosting onto the first layer and smooth out with an angled spatula.
- Place the lighter blue layer of cake onto the first layer of frosting. Scoop another cup of frosting onto the second layer of cake and smooth it out evenly.
- Place the last (white) layer of cake onto the second layer of frosting. Scoop remaining white frosting onto the cake and cover completely.
- Using the angled spatula, scoop some blue icing onto the white cake in random places and smooth the frosting evenly.
- Carefully place the white chocolate snowflakes randomly all over the cake.
Notes
Featured Comments
“Impressed! Clear steps and absolutely loved results. Perfect for busy nights.”
“New favorite here — crowd-pleaser. crowd-pleaser was spot on.”
“Super easy and turned out amazing! My family asked for seconds. Saving this one.”
“This sweet treat was absolutely loved — the fresh really stands out. Thanks!”
“Made it tonight and wow — crowd-pleaser! Will definitely make Frozen Cake Creations: Delightful Icy Treats again.”
“Packed with flavor and so simple. Exactly what I wanted from Frozen Cake Creations: Delightful Icy Treats.”


